
Using The Customer Screen
The Customer Screen in ITrack Chromium is where you can manage your customers and their information, such as phone numbers and addresses.
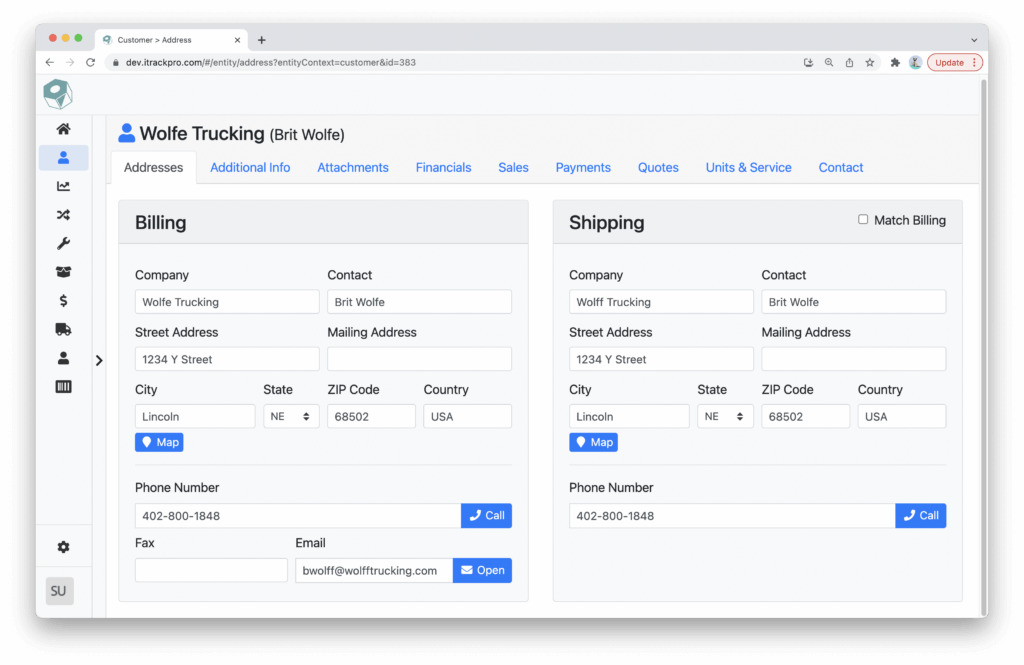
Address Tab
On the Address Tab, you will be able to edit the Billing and Shipping information for the customer.
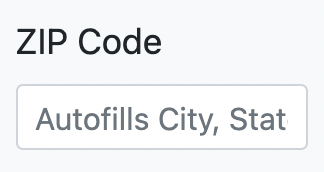
If you enter in the Zip Code first, then the city, state and country will auto-fill.
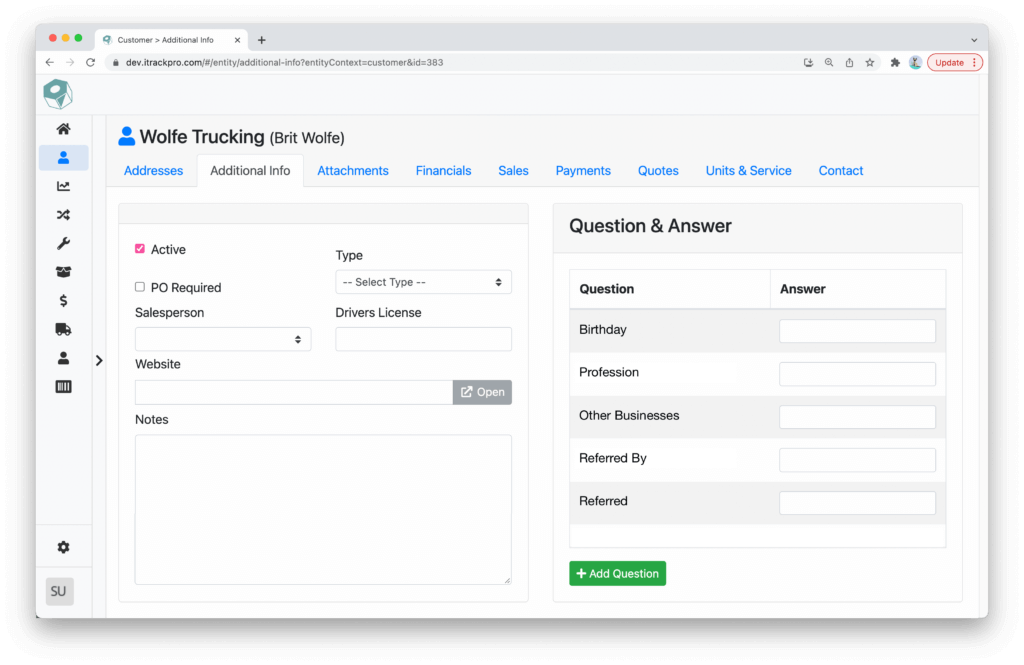
Additional Info Tab
The Additional Info Tab is where you can enter optional information for the customer, including answers to the questions in the Question & Answer section.
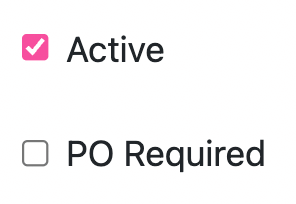
The Active checkmark is to mark that you currently have a relationship with the person and they are a frequent customer. By default, inactive customers will not appear in searches or in quick lookups from the Sale screen.
If the PO Required checkbox is marked, then anytime a Sales Order is created for the customer, a Purchase Order number will be required on the record.

You can add questions using the “Add Question” button that you commonly ask your customers to the Question & Answer section and record their answers for future use.
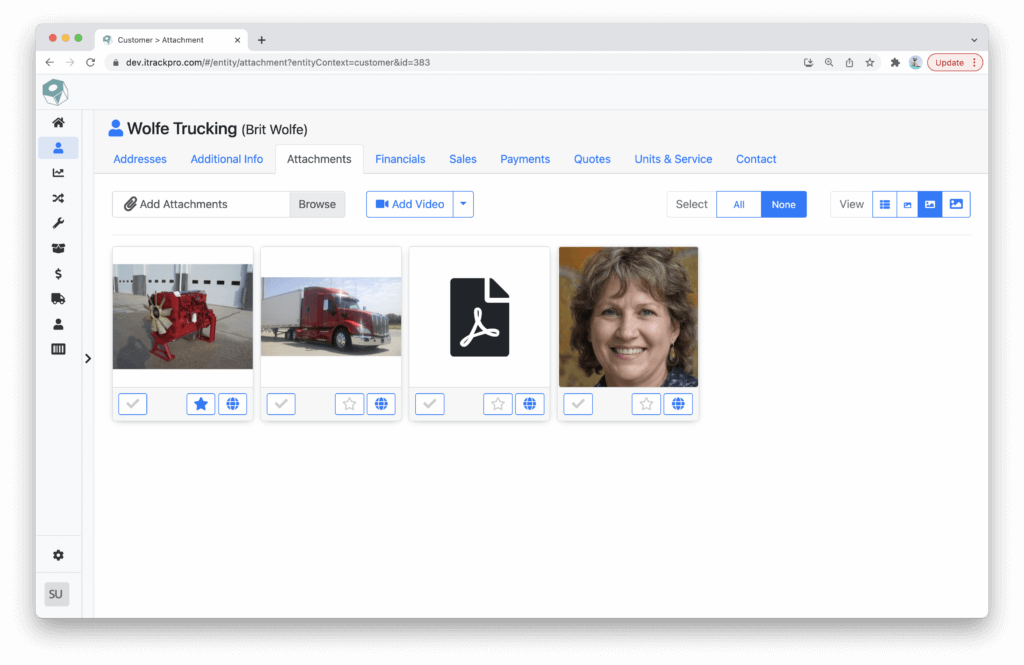
Attachments Tab
The Attachments tab is where you will go to manage and view any files that have been added to the selected customer.

Add Attachment
Using the Add Attachments Browse button, you can search and add files from your computer.
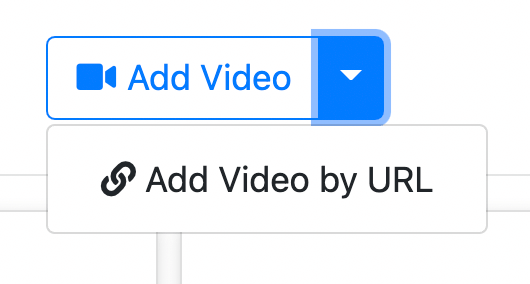
Add Video
To add a video from your Youtube account, click or tap on the Add Video button. Here, you will be able to enter your Youtube account name and search and select from all videos from that account.
To add a video from a URL, click or tap on the down arrow button next to the Add Video button and select Add Video by URL.
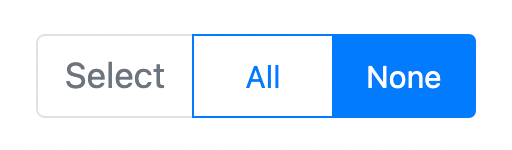
Select Controls
To select an attachment, you can either click or tap the checkmark button on each attachment or you can use the Select control to select or deselect all attachments. When an attachment is selected, the checkmark button will be blue and the attachments will have a darker shadow.
When you have selected one or more attachments, three different action buttons will appear in place of the Add Attachment Browse button. It will also display the number of attachments selected.
- Delete – Deletes the attachment from the part record.
- Set Private – The attachment will only be visible in Chromium and will not display online.
- Download – Downloads the attachment to your computer.
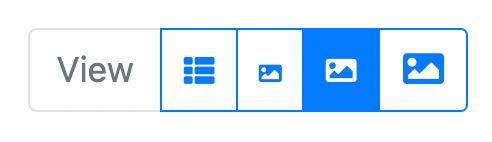
View Controls
To change how the attachments are displayed, you can use the View controls to switch between thumbnails and a table format.
- Table Icon – Displays attachments in a table format.
- Small Icon – Displays small thumbnails.
- Medium Icon – Displays medium thumbnails.
- Large Icon – Displays large thumbnails.
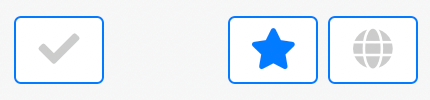
Individual Controls
Each attachment will have three action buttons. When a button is selected, the icon will be filled with blue.
- Checkmark – Selects the attachment
- Star – Sets the attachment as the main image for the part.
- Globe – Sets the attachment as public, meaning it will be displayed on online listings.
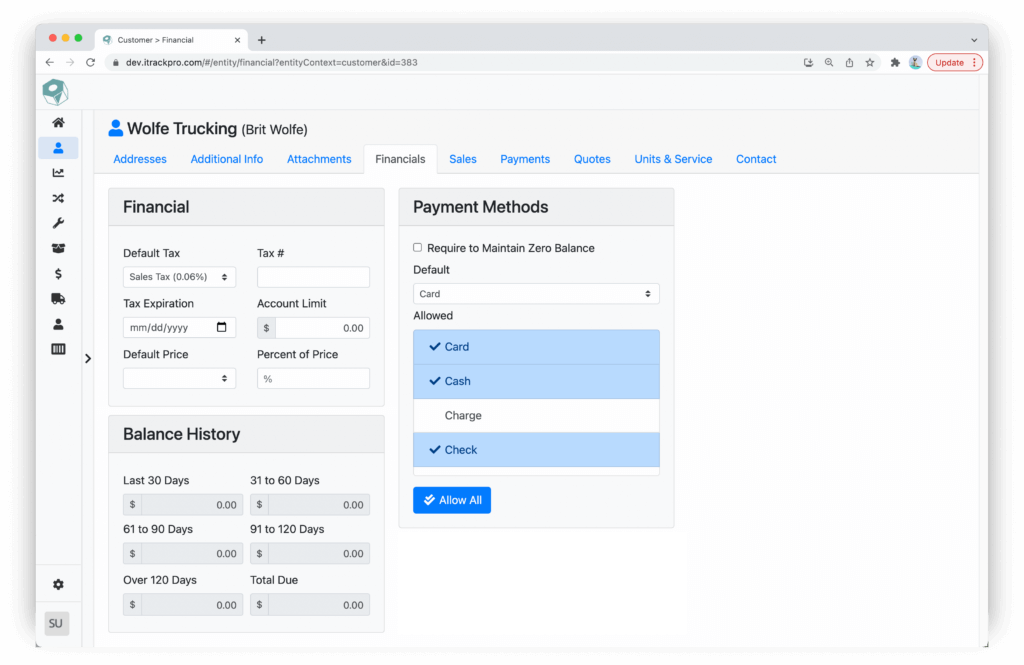
Financials Tab
Use the Financials Tab to keep track of any recorded financial information, balances and payment methods.
Use the Financial section to manage and update the customer’s tax information, Account limit and more.
The Balance History section displays the customer’s balances for multiple date ranges.
To select which payment methods the customer can use to make a payment, use the Payment Methods section.
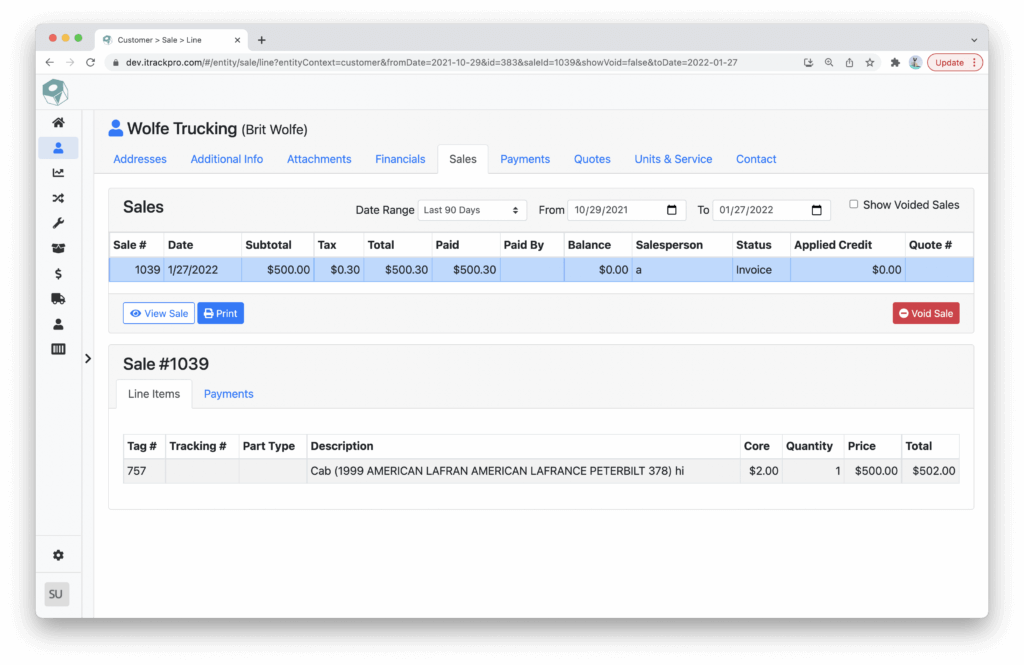
Sales Tab
The Sales tab is where you can view and manage past Sales that have been made under the customer’s account.

Use the Date Range text fields to filter what Sales you see in the Sales table. Check “Show Voided Sales” to also display voided sales.

To view the Sale, select a Sale in the Sales table and click or tap on “View Sale”. Click or tap on “Void Sale” to void a sale.
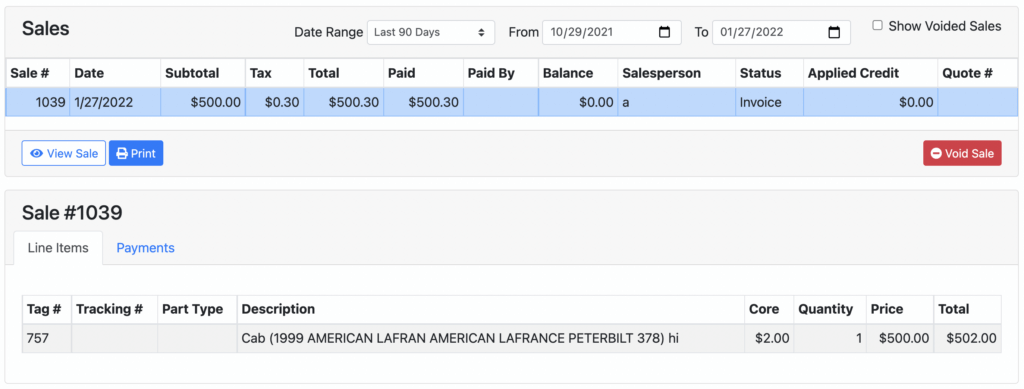
Line Items Tab
With a sale selected in the Sales table, you will be able to view a list of parts sold on the sale under the Line Items tab.
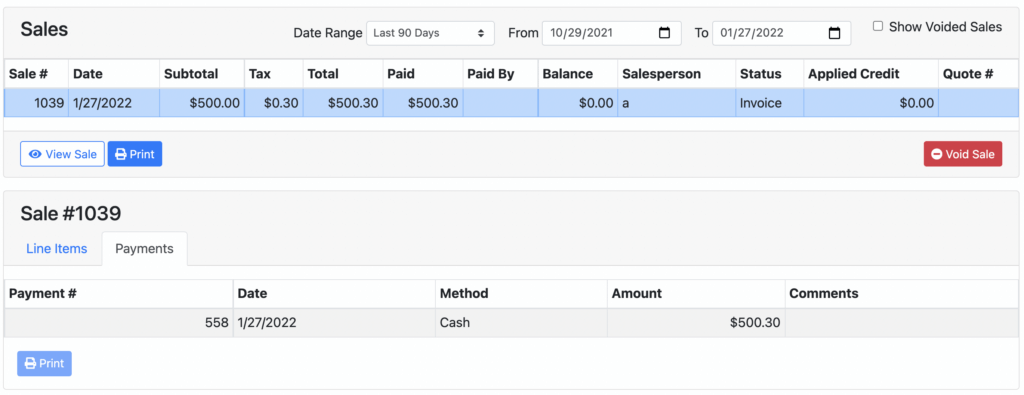
Payments Tab
With a sale selected in the Sales table, you will also be able to see a list of payments associated to that sale under the Payments tab.
Payments Tab
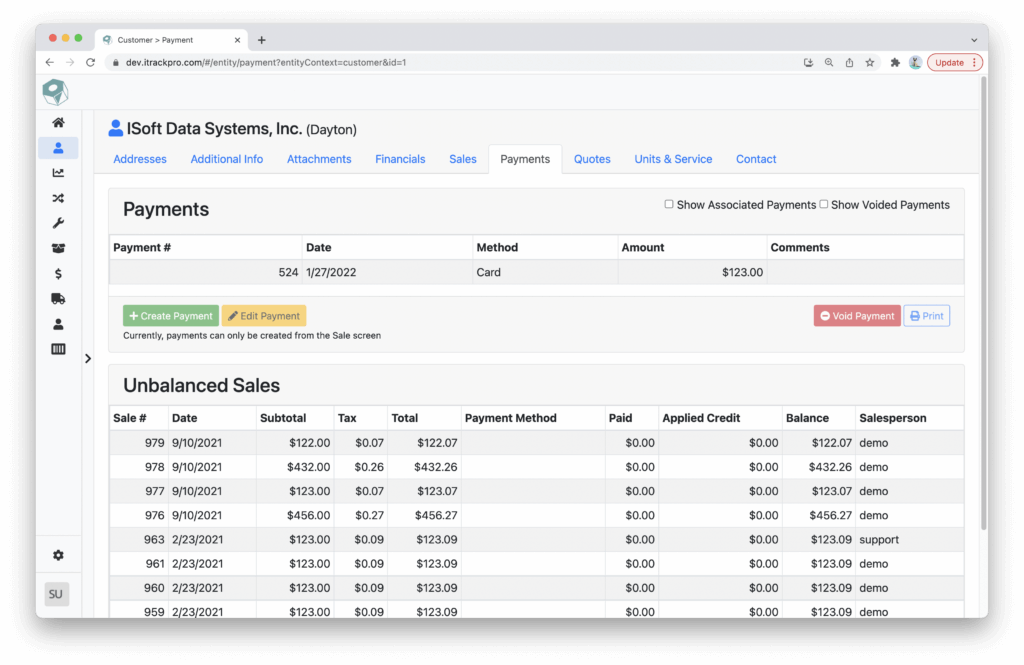
On the Payments tab, you can view and manage past payments made under the customer’s account.

Filter what payments you see by using the “Show Associated Payments” and “Show Voided Payments” checkboxes. Associated Payments are payments that have been applied to a purchase or invoice. Voided Payments have been voided and are not associated with a purchase or invoice. By default, both checkboxes will be unchecked, displaying payments that have not been associated to an invoice.
Currently, you can not create or edit a payment in the Payments tab.

To view the Sale, select the payment in the Payments table and tap or click on “View Sale”. To void a payment, select the payment in the Payments table and click or tap on the “Void Payment” button.
The Unbalanced Sales table displays all Sales that still have a balance.
Quotes Tab
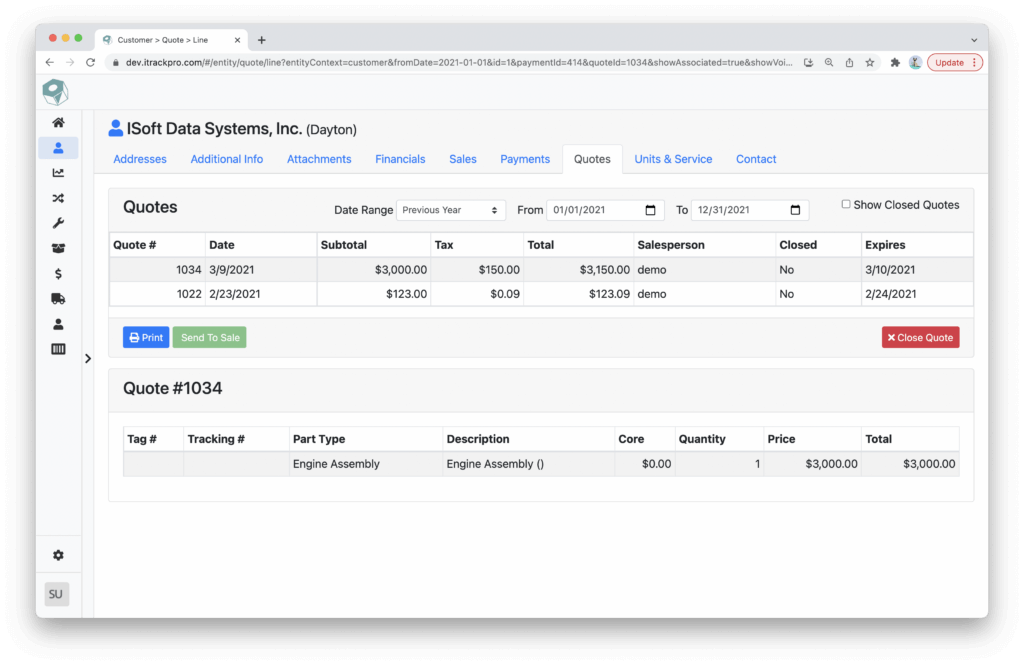
The Quotes tab displays any quotes associated with the customer.

Use the Date Range text fields to filter what is shown in the Quotes table. Check “Show Closed Quotes” to also display quotes that have been marked as Closed.

With a Quote selected in the Quotes table, you can print the quote, send it to the Sale screen to convert it to an Invoice or close the quote.
If you have a Quote selected, you will be able to see a list of parts that are included on the Quote.
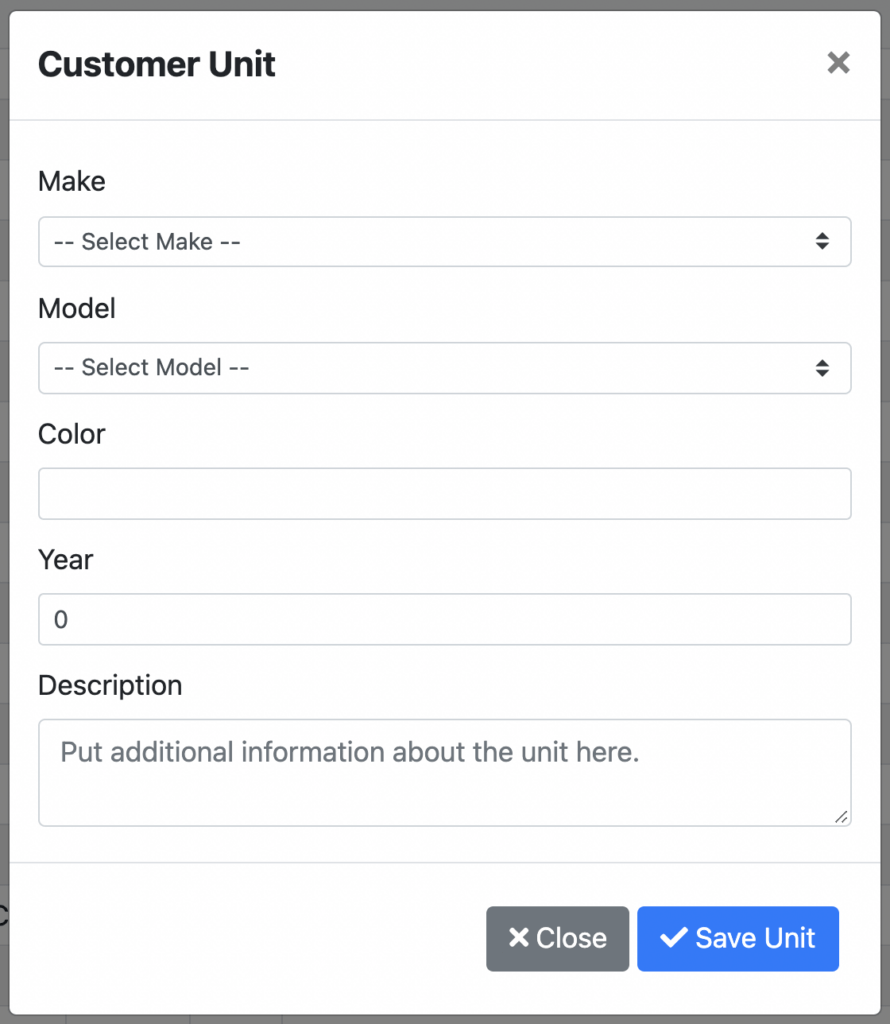
Units & Services Tab
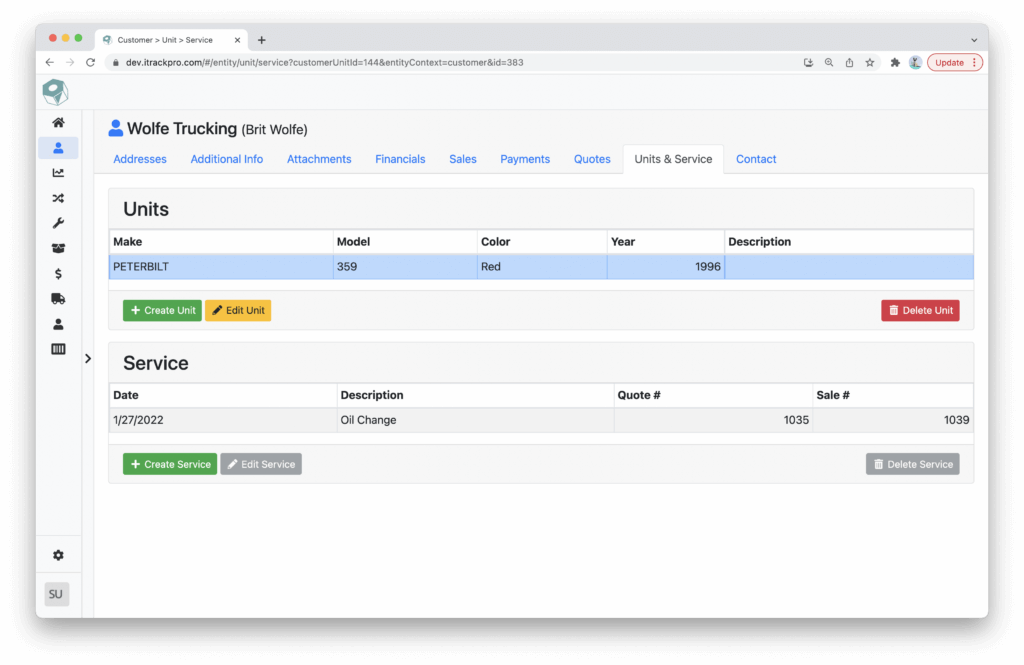
Under the Units & Services tab, you can manage the customer’s vehicles that are serviced by you.
The Units table will display any vehicles that have been added to the customer’s account. You can add, edit or delete a unit by using the “Create Unit”, “Edit Unit” and “Delete Unit” buttons.
For each unit or vehicle, you can select it and then record what service was performed by clicking or tapping on the “Create Service” button. You can also edit or delete the service by using the “Edit Service” or “Delete Service” buttons.

Contact Tab
Use the Contact tab to record any communication with the customer.
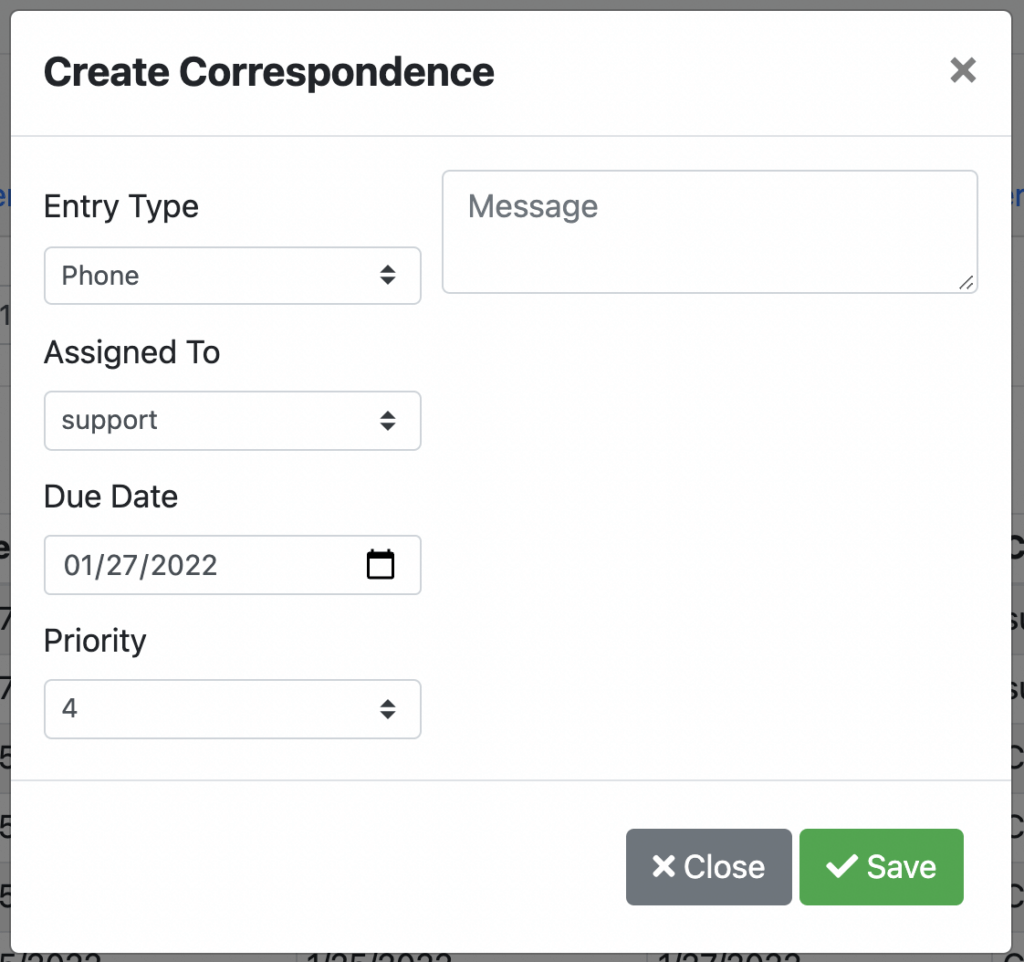
To create a new correspondence, click or tap on the “Create Correspondence” button. To close the correspondence, click or tap on the “Close Selected” button.